

Hello everyone. Happy Thursday. We’re back again with some pretty Spring crafts which will hopefully inspire you. Today I’m going to share how to make this dried flower spring candle. I’ve seen these at local small shops and they look so pretty so I thought I’d give it a go. It was much easier than I expected and I love how…
Read More
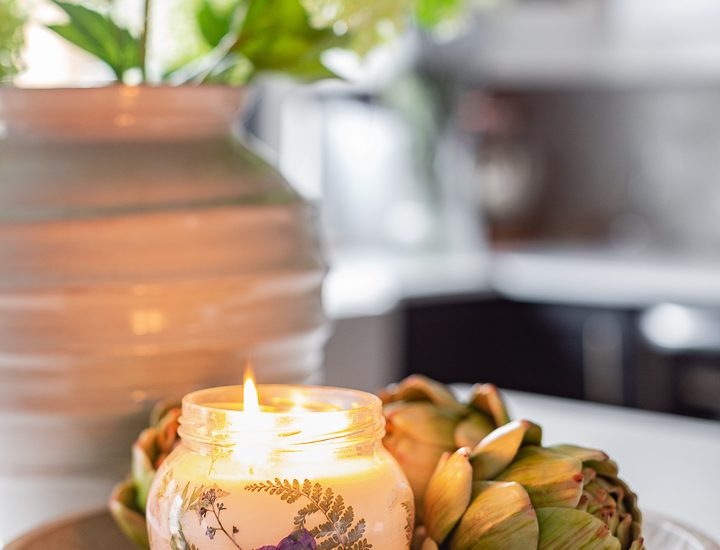
How to Make a Dried Flower Spring Candle
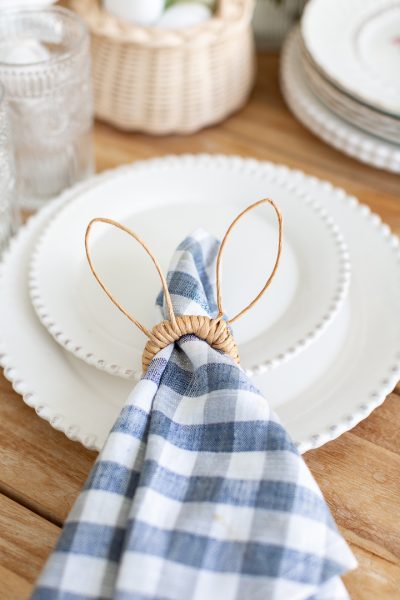
How to make Rattan Napkin Ring Holders for Easter
Hey Friends. How is your week so far? I can’t believe it’s Easter this weekend and I had forgotten to share How to make these cute Rattan Napkin Ring Holders for Easter. They were so easy to make and I think they look adorable. You can add a little flowers or bows to the little ears etc. I used THESE for…
Read More

Pansy Topped Shortbread Cookies
Hello friends. It’s the second day of Spring and we’ve had snow for two days in a row. But even though Spring is MIA, I’m creating spring at home with these pretty Pansy Topped Shortbread Sugar Cookies. Don’t forget to check out the rest of the yummy spring desserts at the end of this post. Even though these look so…
Read More
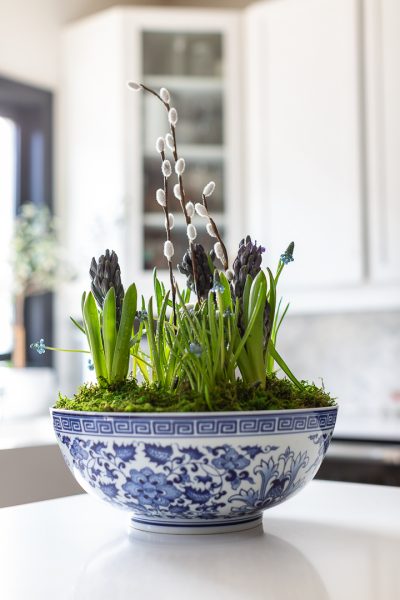
Blue Hyacinth Spring Flower Arrangement in a Blue Bowl
Hi friends. Happy St.Patty’s Day. Though I’ve never understood the fascination with St Patrick’s day, I do enjoy seeing people dress in green and go out to ‘celebrate’. Speaking of St.Patrick’s Day, a few years ago, my sister did a DNA test and it turns out we’re about 14% Irish. I found it so interesting. But I digress, today I…
Read More
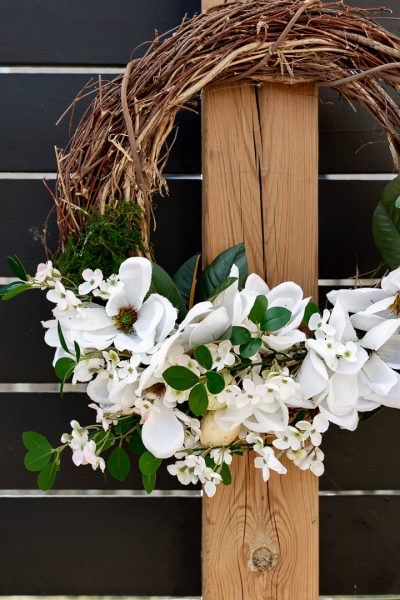
Making a Spring Wreath Using Magnolias from the Dollar Tree
Hello friends. Happy Thursday. I’m excited to join my friends and share with you some pretty spring wreaths. I will be making a spring wreath using Magnolias from The Dollar Tree. I also used an old grapevine wreath so it was very budget friendly. Like I mentioned before, I purchased these magnolias from The Dollar Tree. They don’t look as…
Read More